
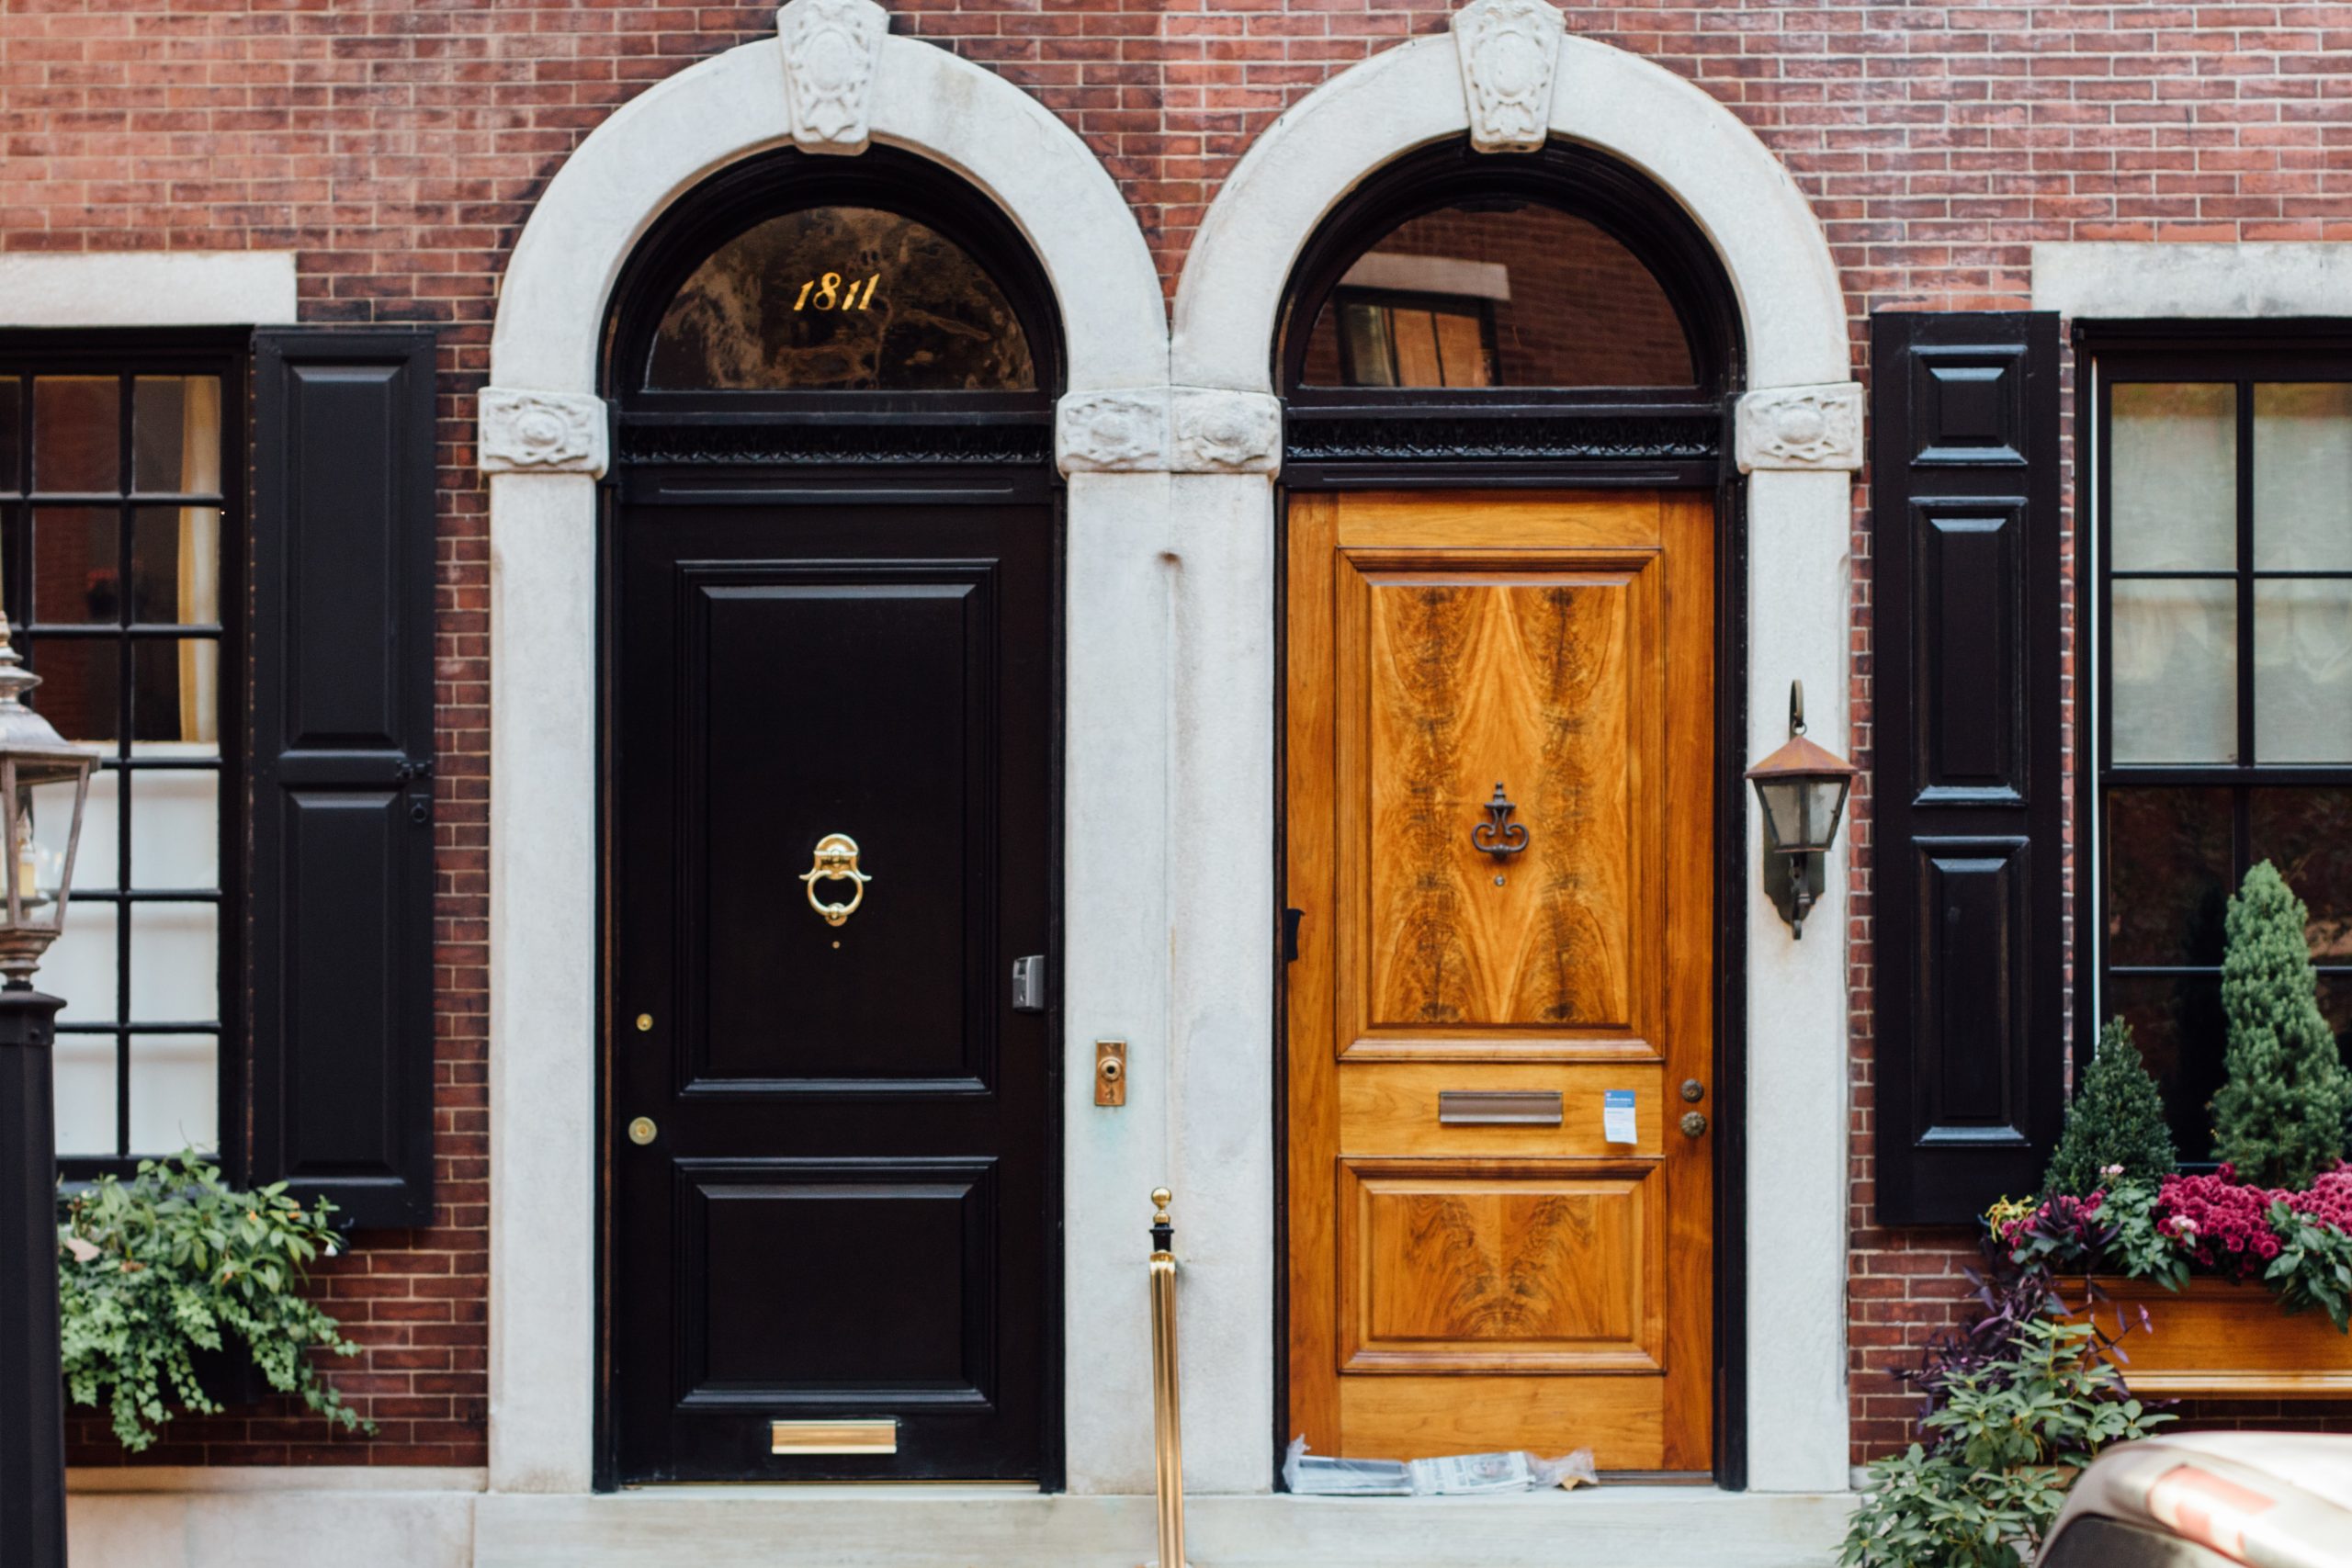
It’s no secret that doors are one of the most important parts to any home. They’re what allow people to bring their friends and families into your home, and they’re often a reflection of your personality as well. But it’s only natural for a door to start showing signs of wear and tear over time, from scratches from metal hinges or paint chips on the frame, dings in the door jambs or lockset knobs.
But when it’s time to replace a door, you don’t have to do it all at once. You can find some ways to fix up the existing door or keep it functional until you can save up enough money to purchase a new one.
You’ll want to make sure the homeowner’s association of your apartment complex will allow you to replace your doors before you make any upgrades. And if they do, check out these tips for replacing doors step by step.
- Make a List
First, you’ll want to make a list of all the ways your door is currently damaged. Take photos of any dents or scratches in the frame and on your lockset knobs or hinges. Use the list to help you determine what kinds of materials and door parts you’ll need.
- Measure the Frame
After that, take out your measuring tape or get a ruler and measure the length, width and height of your doorframe. You’ll want to keep these measurements for ordering new door components later on in the project. Also make sure that your door jambs are level by using a level to see if they are even with each other from top to bottom on both sides.
- Check the Lockset
When you have all of your measurements, it’s time to begin the door reopening process. First, use a razor blade or utility knife to remove the old door jambs and hinges from inside the door frame. Then cut out any damaged trim pieces for new replacement door parts as well as slip joint repair pieces for your lockset.Most standard doors are held up by two hinges on either side of a narrow frame.
- Remove Paint or Metal on Frame
Next, you’ll want to carefully scrape away any paint or rust from the doors’ metal frames. If you notice any odd paint or rust stains on the door’s paint, clean the pockmarks with sandpaper.
- Remove Damaged Trim
Once you’ve removed all of the old trim pieces, use a flat-head screwdriver to screw in the screws that will hold in your new door parts. Be sure to measure for any of your new screws and make sure they are long enough to get into a wide range of jams (see step 2).
- Install Lockset and Handle/Latch
Now that you have all of your new door parts installed, it’s time to reassemble your door. Start by screwing in the hinges on either side of the doorframe, then use a utility knife to cut out any damaged pieces of trim for the new door parts. Then start screwing the pieces of trim in place.
- Install Door Frame
Once you’ve installed all new door parts that you need, mark off where your holes should be drilled for the bottom hinge plate and middle hinge plate. Then use a screwdriver to put into each hole and install your middle hinge plate by using a couple screws to hold it in place. Make sure to put your screws as far below each piece as possible because you’ll need to remove them later when it’s time to take out your door jambs.
- Install New Door Frame
Next, you’ll want to replace the damaged door jambs and install your new door frame by screwing in the bottom hinge plate of your new frame into place. Then use a spring clamp to hold in place while you flip over the frame and put in a screw at both ends on each side and hold onto the top hinge plate section. Then using pliers, gently bend off any of the extra sections of screws left over.
- Install Weatherstripping on Door Jambs
Now that your door is assembled, it’s time to add some weatherstripping around each end of your jamb for a better seal for your doors. Start by removing the old weatherstripping from your door jamb by pulling it as far off as possible. Then bend up the metal tabs on each end of your new weatherstripping so that it fits into the thin grooves on your door frame. You’ll want to make sure that you push the strip in tightly and that there is no gap between weatherstripping and door jamb at all.
- Replace Door Knob and Lockset
Finally, replace any trim pieces or knobs/locksets you removed at first to finish off your new door installation. And you’re all done with the door replacement process! Start to enjoy your new door and slowly begin adding in new decor.
Bottom line
There are a few things you’ll have to do before you begin taking your doors off, such as replacing the hinges with new ones, cleaning off all of the old paint and rust from your frames and door edges. If you find it difficult taking out your old hinges and door frame, we recommend asking a friend or family member for assistance, otherwise we’ve got a few tools that will help remove doors more easily. You’ll first want to find out how much it will cost forandfor the best assistance with removing and replacing doors.